Setting up a beautiful dessert table for your party can elevate the entire event. Start by choosing a theme and color palette that ties everything together. From there, you’ll want to select a variety of desserts that cater to all your guests. The arrangement of these sweets is crucial, as it impacts both aesthetics and accessibility. Curious about how to elevate your display even further? Let’s explore essential tips for creating a stunning dessert experience.
Choosing a Theme and Color Palette
When you’re setting up a dessert table, choosing a theme and color palette is essential because it sets the tone for your entire event.
Start by considering the occasion; whether it’s a birthday, wedding, or holiday, your theme should reflect that. Once you’ve settled on a theme, pick a color palette that complements it.
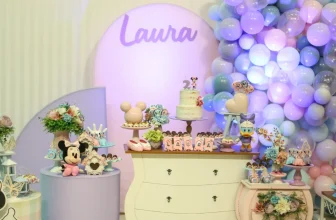
For example, soft pastels work well for spring events, while bold colors can energize a summer party. Limit your palette to three or four colors to keep things cohesive.
Think about how these colors can be incorporated into tableware, decorations, and even the desserts themselves. This thoughtful approach creates a visually appealing display that draws guests in, making your dessert table a memorable centerpiece.
Selecting the Right Desserts
With your theme and color palette established, it’s time to choose the right desserts that won’t only satisfy your guests’ sweet cravings but also enhance your overall display.
Start by considering a variety of textures and flavors. Think about including cupcakes, cookies, and mini tarts to offer something for everyone. You can also add a showstopper cake that reflects your theme.
Don’t forget about dietary restrictions—include gluten-free or vegan options to cater to all guests. Choose desserts that complement your color palette; for instance, pastel macarons or bright fruit tarts can add visual appeal.
Lastly, keep portion sizes in mind; bite-sized treats allow guests to sample more without feeling overwhelmed. Your dessert selection should delight and impress!
Arranging the Display
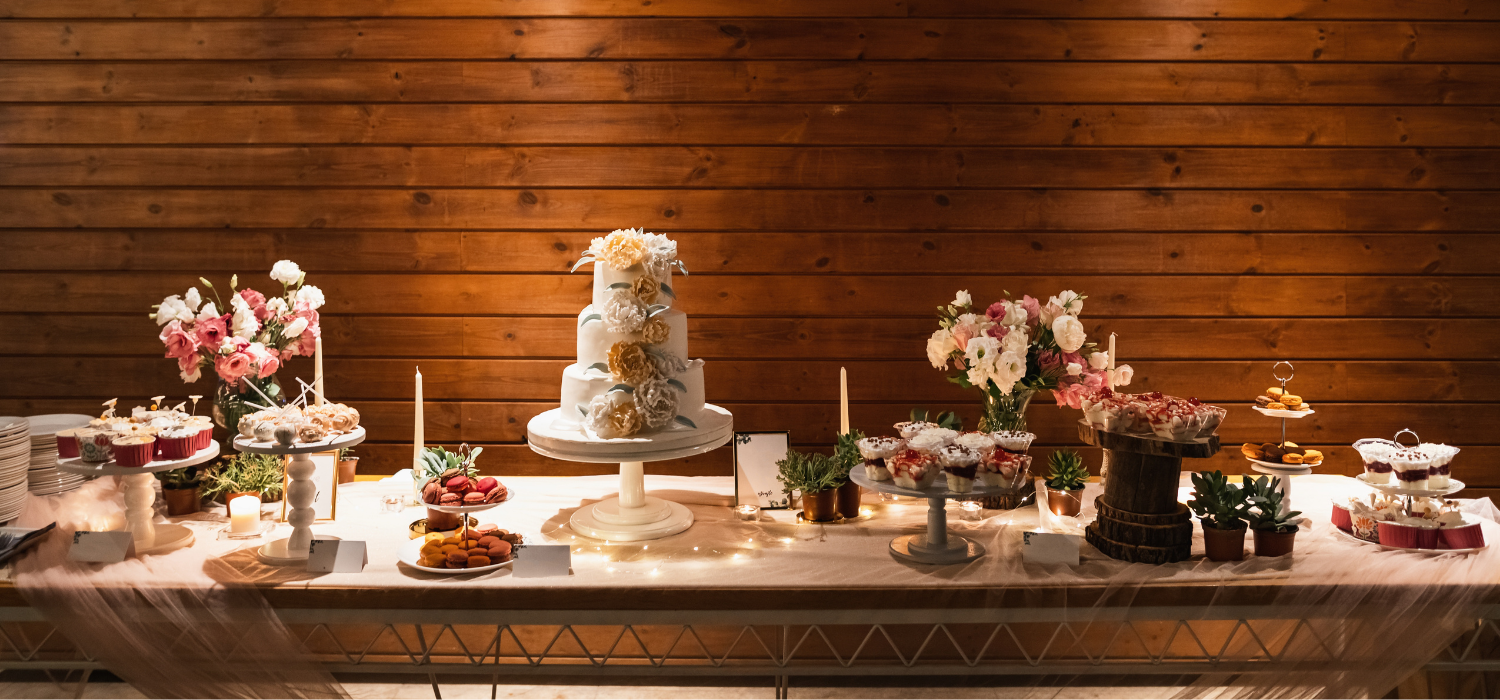
To create an eye-catching dessert display, start by considering the layout and arrangement of your treats. Place taller items, like cakes or tiered stands, at the back or center, drawing the eye upward. Use varying heights to add dimension—stacked books or risers work well.
Group similar items together, like cookies or cupcakes, to create a cohesive look. Don’t forget to balance colors and shapes; mix round cakes with square platters for visual interest. Leave some space between items for a clean appearance and easy access.
Finally, ensure there’s a clear path for guests to navigate without bumping into each other. This thoughtful arrangement sets the stage for a stunning dessert table that invites everyone to indulge.
Adding Decorative Elements and Personal Touches
After you’ve arranged your desserts, it’s time to enhance the visual appeal with decorative elements and personal touches.
Start by choosing a color scheme that complements your theme, using tablecloths, napkins, or decorative trays. Incorporate fresh flowers or greenery for a natural touch; they add life and color.
Use decorative elements like cake stands, jars, or candles to create height and interest. Don’t forget to include personal touches—photos, handwritten labels, or custom signage can make guests feel special.
If you’re celebrating a milestone, consider themed decor that reflects the occasion.
Lastly, keep the lighting soft and inviting; string lights or candles can create a warm ambiance. These details will make your dessert table unforgettable!
Frequently Asked Questions
How Much Space Do I Need for a Dessert Table?
You’ll need at least 4 to 6 feet of table space for a dessert table. This gives you enough room for various treats, decorations, and serving dishes, ensuring everything looks appealing and accessible to guests.
What Type of Table Is Best for Displaying Desserts?
A rectangular or round table works best for displaying desserts. Choose a sturdy surface with enough space for your treats. Consider a table with a tablecloth to enhance the overall look and presentation.
How Far in Advance Can I Prepare Desserts?
You can prepare desserts up to three days in advance. Just store them properly in airtight containers. For best flavor and texture, focus on making delicate items closer to the event, ideally within 24 hours.
How Do I Keep Desserts Fresh During the Party?
Keep desserts fresh during the party by covering them with cloches or plastic wrap. Use ice trays under platters for chilled treats, and avoid direct sunlight, which can cause melting or spoilage. Enjoy!
What Are Some Budget-Friendly Options for a Dessert Table?
You can use homemade treats, like cookies and cupcakes, or buy bulk snacks from discount stores. Incorporating seasonal fruits and simple decorations, like colorful tablecloths, adds flair without breaking the bank. Enjoy your budget-friendly dessert table!
Conclusion
By following these steps, you can create a stunning dessert table that captivates your guests. Remember to choose a theme and color palette that reflects your celebration, select a variety of desserts to cater to everyone, and arrange them thoughtfully for visual appeal. Don’t forget to add decorative touches that showcase your personality. With a little creativity and attention to detail, your dessert table will be the highlight of the party, leaving everyone sweetly satisfied!